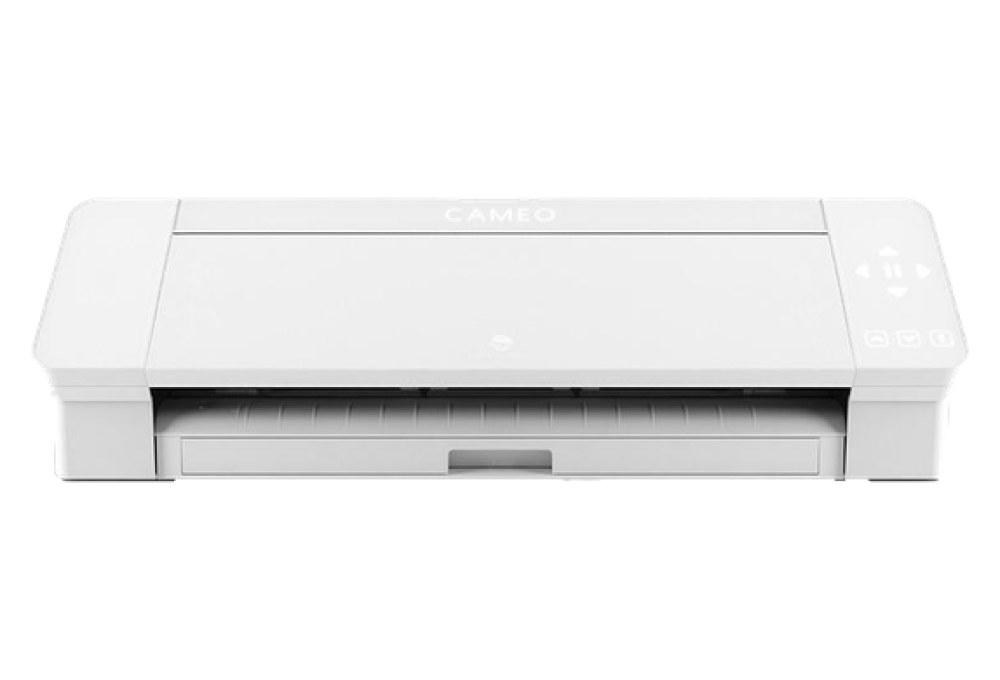
Silhouette Cameo 4
The Cameo 4 is a 12-inch width programmable desktop cutting machine for beginners and experienced crafters that makes precision cuts in different kinds of materials like vinyl, cardstock, acetate, cotton fabric, felt, burlap, foam, leather and more. This machine is great for making vinyl designs, shape cutouts, paper crafting, scrapbooking and more.
APPROVED MATERIALS
| Adhesive Vinyl (12 x 12) | |
| HTV (heat transfer vinyl) (12 x 12) | |
| Magnet Backing Sheets (12 x 12) | |
| Stiff Felt (12 x 12) | |
| Cardstock (12 x 12) |
For questions about these materials or other materials you may want use with the Silhouette Cameo contact a Media Lab specialist.
What does the Media Lab provide?
- Cameo 4 Desktop cutting machine
- 12-inch cutting mat
- Blades and tools for cutting
- Silhouette sketch pens/markers
- Silhouette Studio Software
- Cardstock
- Vinyl sheets – adhesive (permanent/removable), heat transfer vinyl, etc.
- Heat transfer paper.
What do I need?
Project materials like design files, material to be cut like vinyl sheets, fabric, etc. and any starter kits you need for your projects. Design files in JPG, PNG, SVG, DXF format prepared using Silhouette Studio program.
How do I use it?
Software settings
- Open up the file in the studio software on the computer. You can also use the drawing tools to draw a design or buy designs from the store.
- Design Tab - Access your design setting panels like page setup panel, transform panel, modify panel, etc. on the right side and all the tool bars on the left side of the window.
- Store - Access free designs available or purchase and download designs.
- Library - Place where all the purchased or user-created design files are stored.
- Send – Tab to send the design you want to cut to the machine.
- Make changes to text or drawn design by clicking on the tools and opening up the respective panels.
- Click on the “Design” tab at the top left and make the necessary edits in page setup like orientation, resizing, reversing (HTV projects), etc.
- Wait for the material to be loaded.
- Click on the “Send” panel, expand the tool settings. Choose the respective tools and decide what actions you want the tools to perform depending on your project.
- Select the design and adjust cut lines and material for each tool. Click on the line and fill tabs and check the settings.
Hardware settings
- Lift the lid and slide it back, power on Cameo 4 and make sure it is connected to the computer.
- Place auto blade in the left carriage numbered 1 (or use any other blades using the tool adapters) and whichever tool blades (rotary, Kraft or punch tool) you need for your project in carriage numbered. Push to lock it in (make sure there is no gaps between the blade and carriage).
- Slide out the bottom drawer and flip open the feeding flap of the roll feeder and load your material.
- Adjust the rollers to match the material size. Turn the release lever towards you (clockwise) and push the lock button on the roller body, hold it down and slide it to the position you need. Release the lock button when in place. Lock the release lever by turning it counterclockwise.
- The right and left rollers should match the width of your material and the middle one should be in the middle of your material.
- Place your material (paper, vinyl, etc.) on the cutting mat aligning it with the gridded area. If using a HTV, make sure shiny side is facing down and if using iron-on fabric material, the fabric side should be facing up.
- Rest the mat with the material next to the rollers and align the left edge of the mat with the gray line and arrows on the left side of the machine.
- Push the load button (up arrow) in the front panel. The mat will be pulled up under the rollers.
- Adjust the starting cut point after loading the material using the load/unload buttons on the front panel. (Turn on grid view in Silhouette Studio).
- Once cutting is complete, tap on the unload button to release the mat or material from underneath the rollers or use cross cutter in the back to trim your material off.
Tips and tricks
- Basic Silhouette terms
- Make sure you are running Silhouette Studio version 4.3 on your computer for the Cameo 4. Download the latest version by going to this link.
- Click here to find step-by-step instructions on setting up Cameo 4.
- Slightly lift up the auto blade carriage when you insert the blade and push it down to lock it.
- For any HTV material, make sure you place the shiny side down and the matte side up on the cutting mat.
- Use the 3 millimeter Kraft blade for thick, dense materials. Make sure you secure the material to the mat using tape.
- To get accurate cuts, line your material to the grid of the mat. The top and left edges should line up with the gridlines on the mat.
- Different cut settings for Cameo 4 – a) Regular cut with mat b) Kiss cutting with no mat – cuts the material and not the carrier sheet c) Pop-out cutting with no mat – cuts through the material like paper and cardstock.
- Cut lines on a design are always shown in bold red color.
- Use the spatula and hook tools to remove fine detailed cut materials from the mat.
- Use transfer paper and Silhouette scraper to remove cut vinyl designs after weeding.
- Do a “TEST” cut (at the bottom of the “Send” tab) to make sure your cut settings are right.
- Design files in JPG, PNG, SVG and DXF formats can be used in the Silhouette Studio program.